How to Create IAM Users in AWS: Best Practices Guide
AWS IAM (Identity and Access Management) is a global service to manage your AWS Account access and secure it.
You can learn more about AWS IAM fundamentals here and how to secure your Root User account here.
In this tutorial you can learn how to create IAM Users by applying best practices.
First of all, login to your account as Root or as an IAM User who has permission to create IAM Users, Groups, Policies and Roles.
You can find a step by step guide how to login as Root user here, see section Login to your AWS Account as Root.
IAM Dashboard

On your IAM Dashboard, you can see:
- User groups
- Users
- Roles
- Policies
- etc
Create Custom IAM Sign In Alias
In order to make your users life easier, it is recommended to create a user friendly sign in alias url.
Step 1: Go to Dashboard
Click on Dashboard.
As you can see the sign in URL for IAM users in this account starts with your AWS account number which is hard to remember. Recommended to customise it.

Click on Customize link.
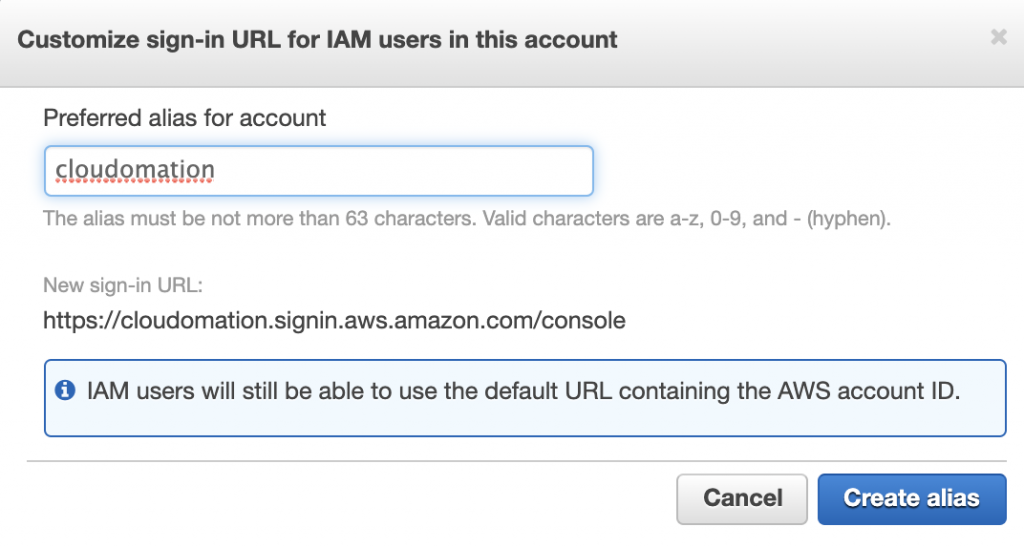
Step 2: Customize your sign in URL
Choose an easy to remember alias then click on Create alias button.
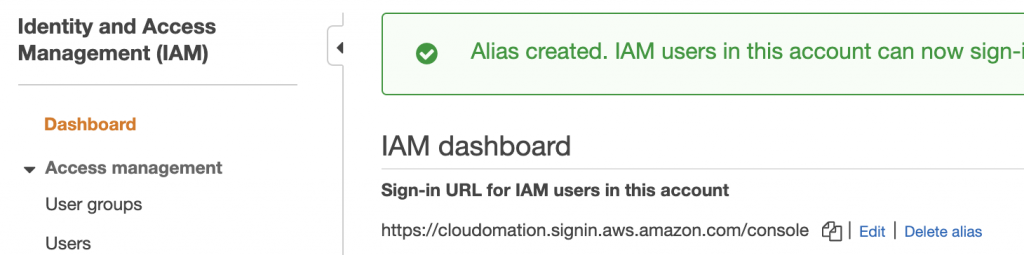
Step 3: Verify your sign in URL
Now, your IAM Users can use the newly created alias sign in url to login.
Create IAM User
For each human, who interacts with your AWS Account (yes, count yourself in too, don’t play with your Root Account, have your own IAM user as well, you are one of our own, don’t want to play God please!), create an IAM user and enforce maximum security for all.
Step 1: Go to IAM User dashboard
Click on Users on your IAM Dashboard.

Step 2: Add user
Click on Add user button then fill the form.

Details to fill:
- User name: choose a unique username. Best practice to follow a patten like <first_name.last_name> or <first_namelast_name> or <first_name_last_name>.
- Access type: choose the access type(s) required for the user. Always consider the least privilege principle.
- Programmatic access: tick if the user needs programmatic access like AWS CLI or access from applications. Developers, testers usually need this. Note: the user will need to generate Access Keys for this access type see details later.
- AWS Management Console access: tick if the user needs AWS web interface access. Most users need this.
- Console password:
- Autogenerated password: AWS generates a strong first password for the user. Recommended.
- Custom password: you can provide the first password. Not recommended.
- Require password reset: tick this to force user to reset password at next sign in. Recommended.
Click on Next: Permission.
Step 3: Set user permissions
In this step, you have to set permissions to your new user by:
- adding user to a group (recommended, no groups yet? no worries, we’ll cover it in a bit)
- copying permissions from existing user if you have existing users, it might be a quick option
- attaching existing policies directly not recommended

Step 4: Create group (optional)
If you have created groups yet, follow this steps, otherwise just select your group then click on Next: Tags.
Fill the Create group form then click on Next: Tags.

Details to fill:
- Group name: choose a name that describes the group the best. E.g. admin
- Policies: select the policies (recommended) from the managed policies list or create your own inline policy (not recommended). E.g. select AdministratorAccess

Step 5: Tag (optional)
You can assign tags to your user. Not important in this tutorial so not adding any. Follow your company tagging policy if have any.
Click on Next: Review button.

Step 6: Review user details
Review the new user details and click on Create button.

Step 7: User created successfully
Congratulation! You have successfully created your first IAM User.
Download login credentials as csv or send in email!


Step 8: Sign in with your new IAM user
Go to your IAM User sign in url and provide your IAM username and password.

Step 9: Change password next login (optional, only if enabled)
Provide your existing, new password and confirmed password then click on Confirm password change.

Step 10: Successful sign in
After successful sign in, you are on your IAM user console dashboard.
