AWS IAM: How to Secure Your AWS Account and Root User — Best Practices
AWS IAM (Identity and Access Management) is a global service to manage your AWS Account access and secure it.
You can learn more about AWS IAM fundamentals here.
In this tutorial you can learn how to secure your AWS Account and root user by applying best practices.
Login to your AWS Account as Root
Step 1: Go to AWS Sign in page and select Root user then provide your Root user name then click on Next.

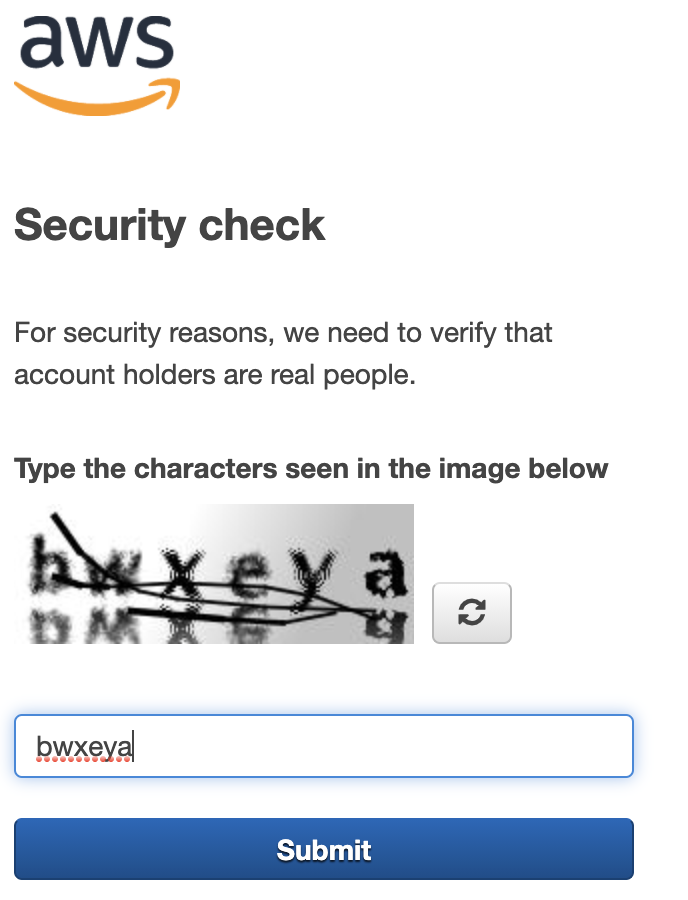
Step 2: Type the security details if prompted then click on Submit.
Step 3: Provide your Root password then click on Sign.

Step 4: After successful login, you are on your AWS Dashboard like this (it might be different for you depending on the time and used services).

Step 5: Go to AWS IAM Service
Click on Services then on IAM.
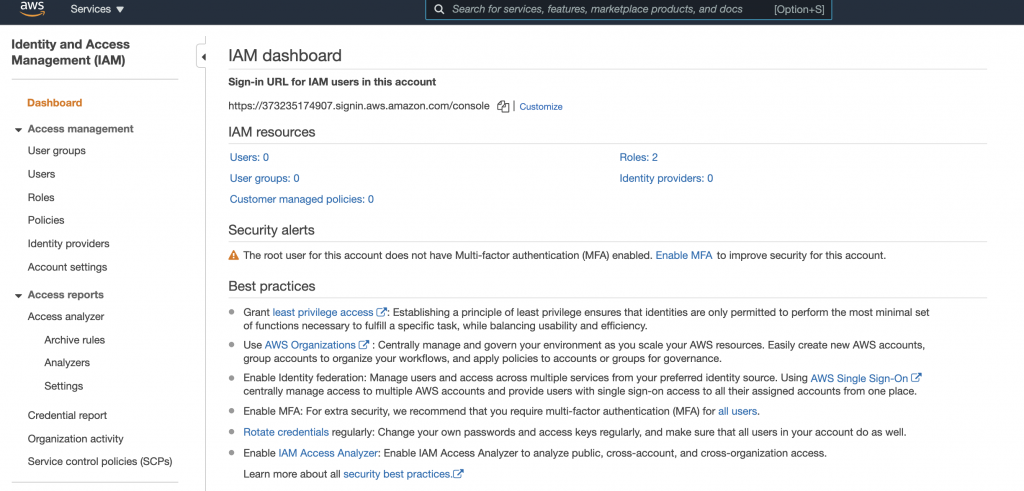
Congratulations, you have successfully logged in as Root into your AWS Account and opened the IAM dashboard.
Let’s apply best practices and secure your account.
Setup Strong Password Policy
Each user requires a password. Use strong password and always lock down and never share your passwords.
Best practices:
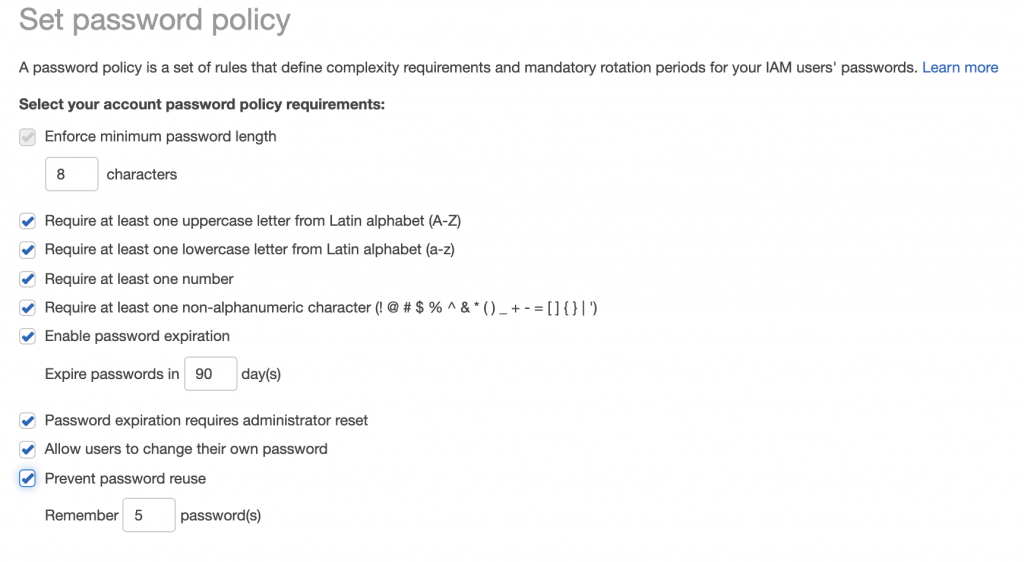
- Create strong password policy which forces users to have strong password like at least 8 characters length, contains 2 digits, 2 upper case, 2 lower case letters, 1 special character etc.
- Force password rotation so users need to change their passwords regularly for example in every 90 days.
Step 1: Click on Account Settings on your IAM dashboard then click on Change password policy.

Step 2. Setup a strong password policy
Tick the boxes you want your password policy to enforce. For the maximum security, tick all boxes.
Finally, click on Save changes.
Step 3. Check you password policy

Change your Root User password to enforce the new strong password policy
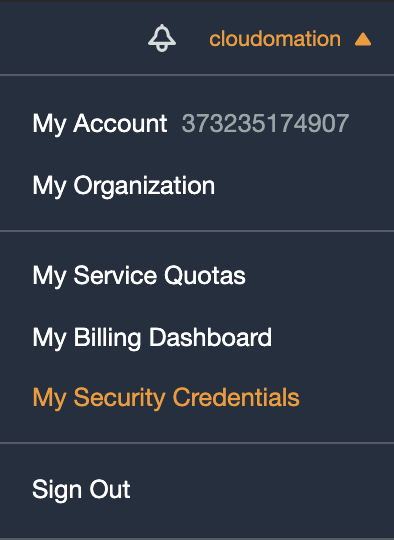
Step 1. Click on your account name then go to the My Security Credentials dashboard.

Step 2: Click on the Click here to change the password… link in the Password section.

Note: AWS might enforce you to sign in again, just use your existing credentials.
Step 3: Click on Password Edit

Step 4: Provide your existing and new passwords then confirm new password, finally click on Save changes.

Step 5: Sign back in with your new password.
Make sure you sign out and sign back in with your new password.
Now you have setup a strong password policy, let’s go to the next level and setup Multi Factor Authentication.
Setup Multi Factor Authentication
Username and password are basic credentials. Even having strong password policy and password rotation enforced, having access to the actual password can cause serious damage.
AWS IAM provides Multi Factor Authentication as a higher level security to your users. Users have a device that generates a response to an authentication challenge. Beside username and password, the user need to provide the device generated response as well to complete the sign in process successfully.
Best practices:
- Setup your MFA in your Password Manager Tool like 1Password so you can access it from multiple devices and locked in your trusted password manager.
Step 1. Click on your account name then go to the My Security Credentials dashboard.
Step 2: Click on the Activate MFA button in the Multi-factor authentication (MFA) section.

Step 3: Select your MFA device
Recommended to use an MFA application like Google Authenticator, Authy or the best to use your password manager tool like 1Password as a virtual device.
Alternatively, you can use a supported physical device as well. See more here.

If you choose Virtual MFA device, please follow the below steps, otherwise please follow the selected device tutorial from the manufacturer.
Step 4. Install or Open your authenticator application

Step 5: Scan QR code
Click on Show QR code then scan it with your app.
Step 6: Type two consecutive MFA codes
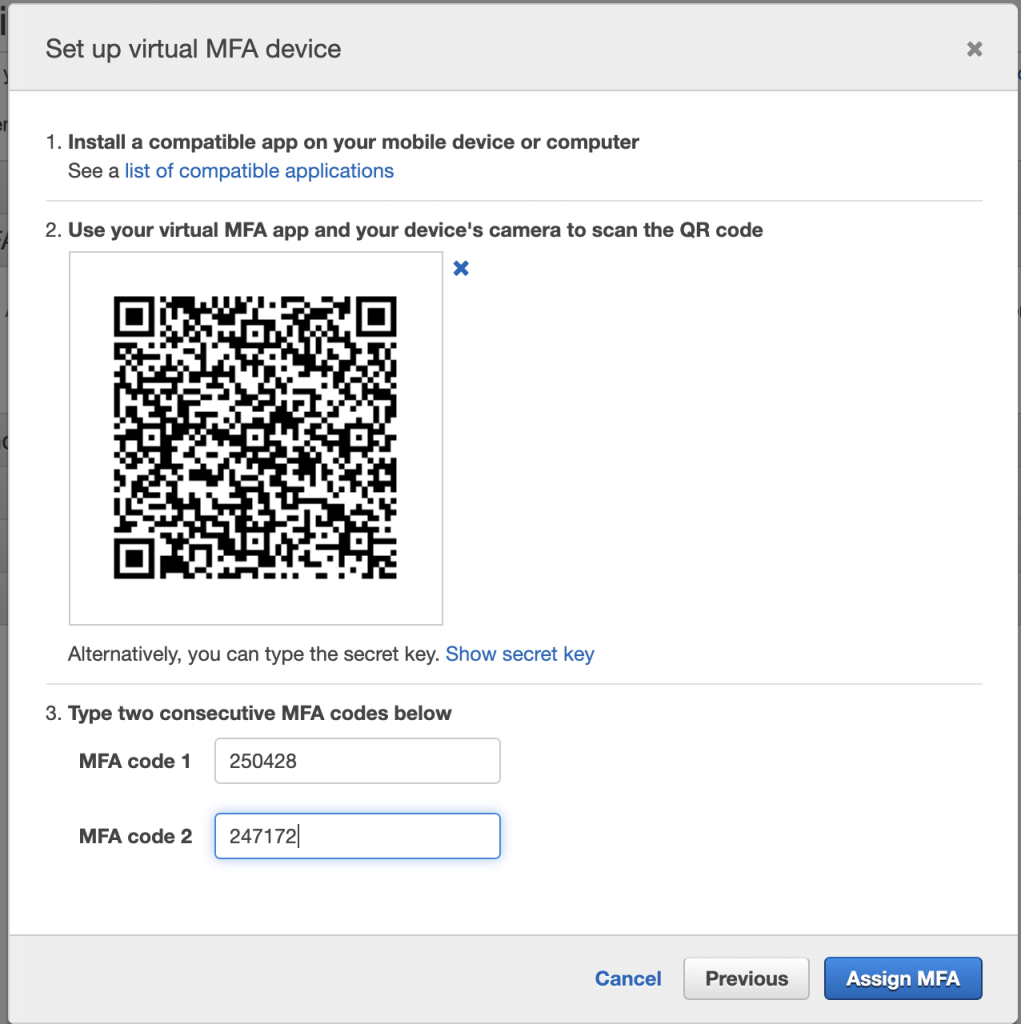
Step 7: Assign MFA


Step 8: Sign back in with your new MFA
Make sure you sign out and sign back in with your new MFA.

Congrats, now you have secured your AWS Root account.
Learn more best practices before you move to the next level.
Further Root Account Best Practices
Never share your Root user credentials with anyone, lock it and use it just if really needed.
Create an IAM user for yourself for regular activities.
Don’t generate AWS Access Keys for your Root user, use your IAM user for that.
Now you are ready to learn more about IAM users, groups, roles and policies?