How to Install Google Analytics 4 in WordPress (2025 Guide)
Having a website for your business is the number one marketing tool in the digital age.
Knowing how your audience interacts with your website is crucial for your success.
The best way to know your audience is through your traffic stats, and this is what Google Analytics provides for FREE.
Do you want to install Google Analytics in your WordPress Website?
First, you need to sign up with Google Analytics.
How to Set Up Google Analytics
You can sign up with Google Analytics for free. You just need a Google or Gmail account then you are ready to go.
Step 1: Visit Google Analytics sign up page
You need to login with your Google account first. You can use your existing Google or Gmail account details or you can create a new Google account.
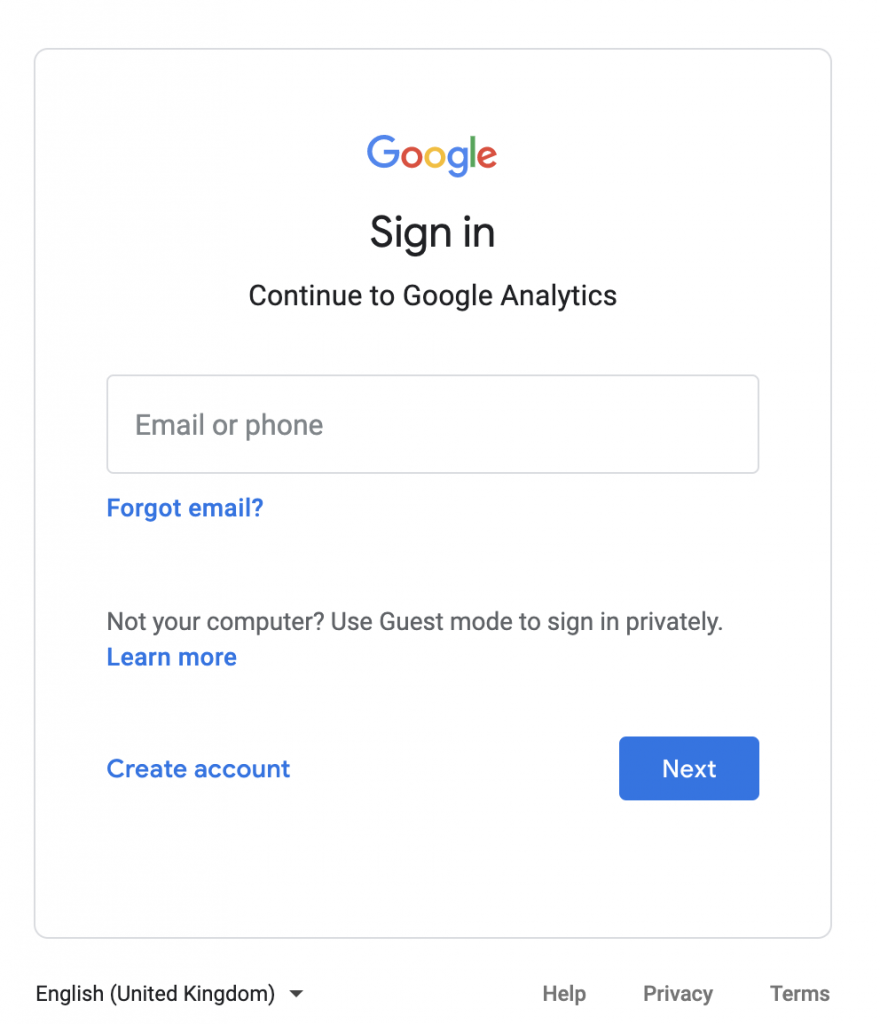
After successfully login in, you will be redirected to the Google Analytics sign up page.

Step 2: Sign up for Google Analytics
Click on the Start measuring button to start the sign up process.
Account setup
Provide your account name. This name will be used internally so you can use anything like your business name.

Then click on Next.
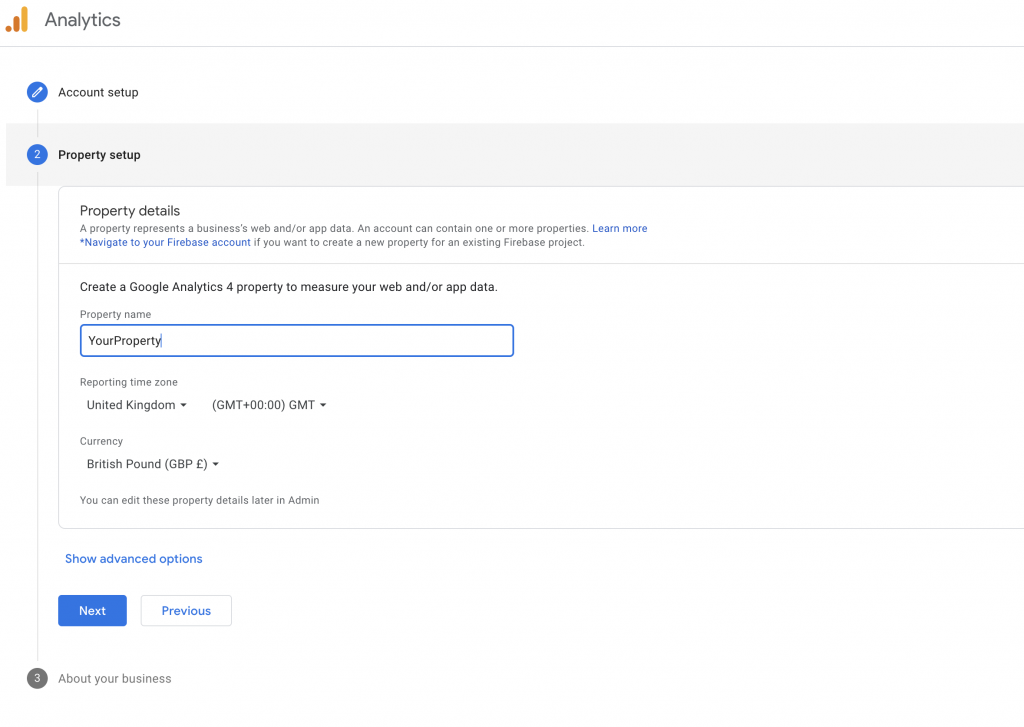
Step 3: Property setup
The next step is your Google Analytics Property setup. This name will be used internally so you can use anything like your business name.
Also select your reporting time zone and currency.
Step 4: About your business
Select your business industry category and size, finally check all the boxes which are applied to your intention using Google Analytics.
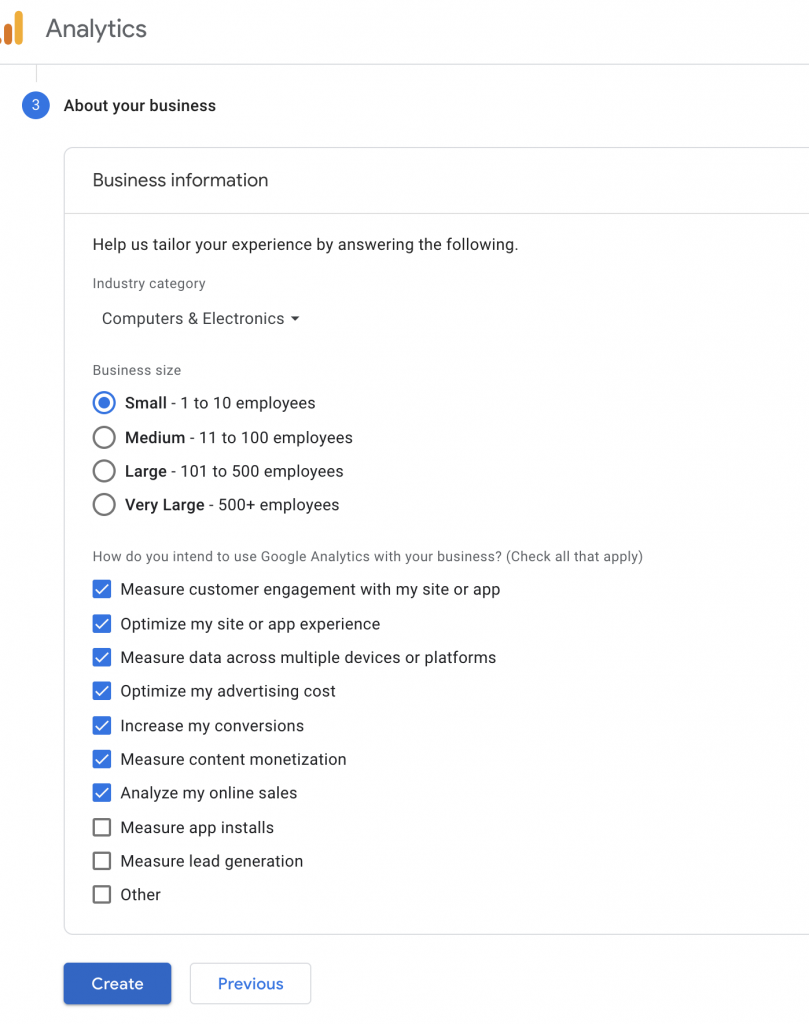
Then click on Create.
Step 5: Your Google Analytics Account Dashboard
After the successful creation, you will land on your fancy new Google Analytics dashboard.

Step 6: Setup your stream
Next step is to setup your stream. Click on the Web link.
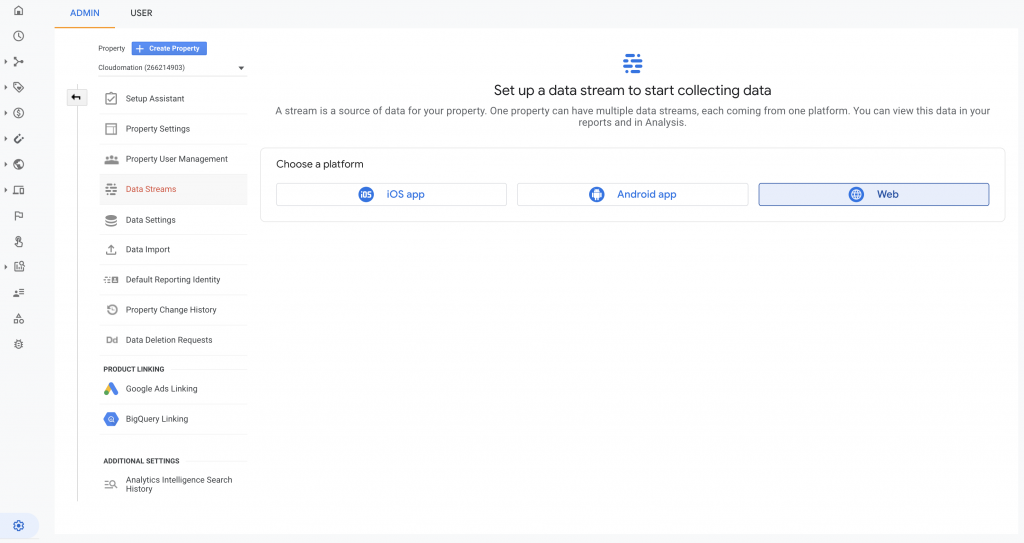
Provide your website URL and stream name then click on the Create stream button.
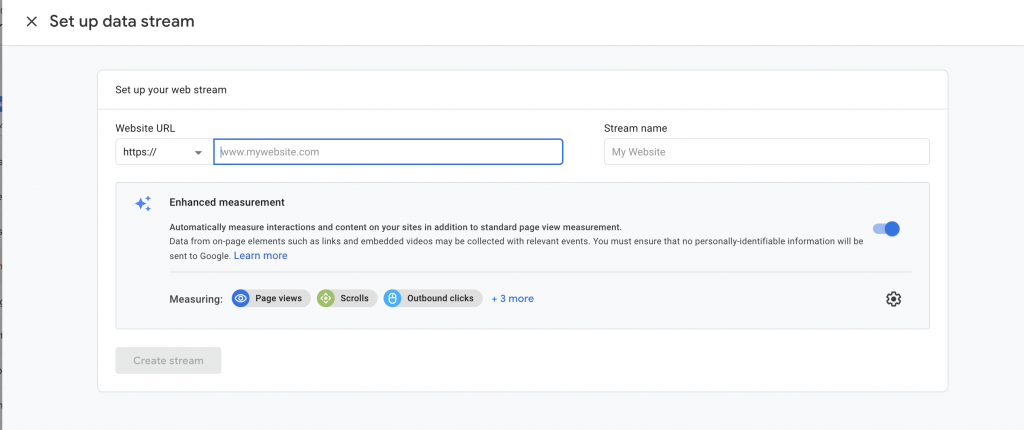
Your web stream is ready.
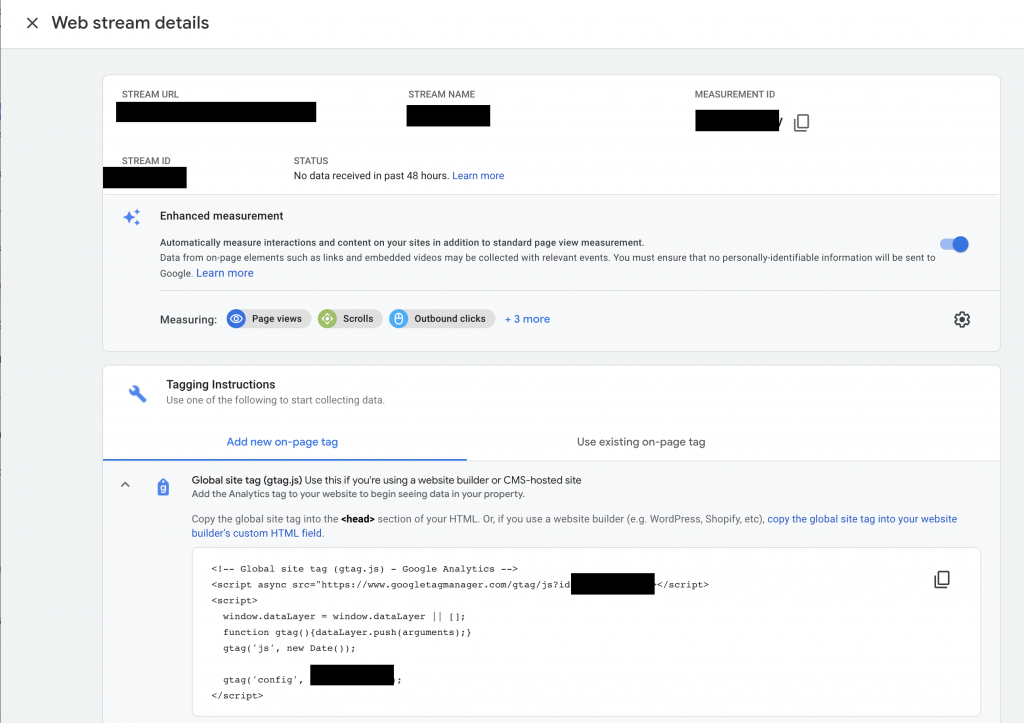
Step 7: Find your tracking code
Now, your Google Analytics side of things are ready. The final thing you need from Google Analytics is your Global Site tag aka tracking code. You need to insert your tracking code into your WordPress Website in order to be able to track your website traffic.
You can find your Global Site tag under Tagging Instructions under the Web stream details.
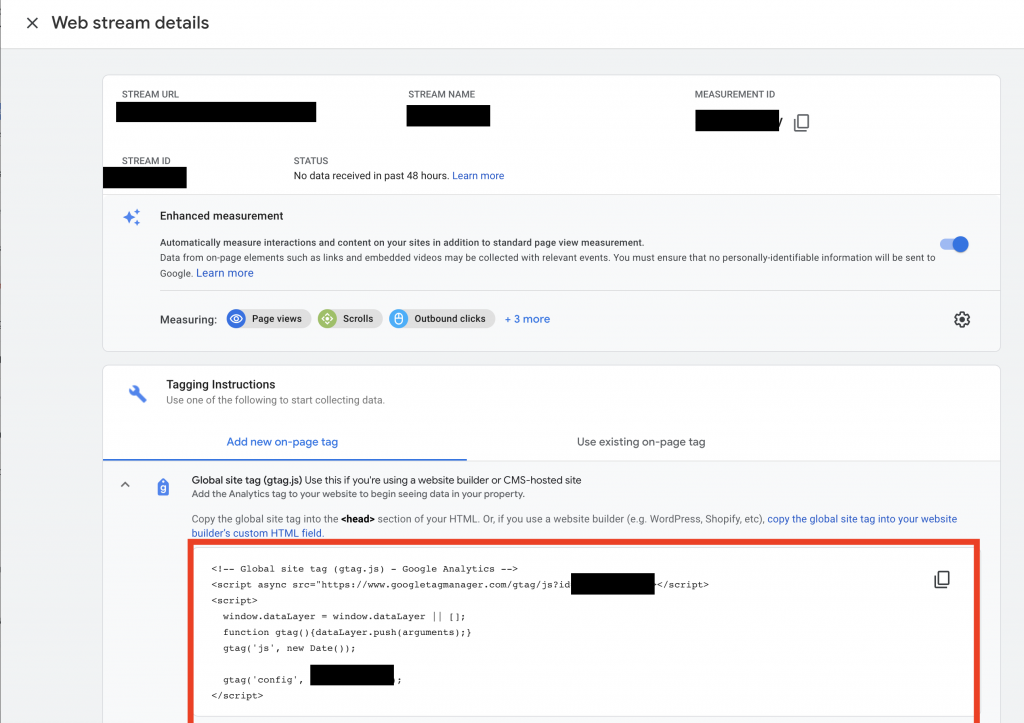
Let’s go and setup WordPress to send analytics data to your fancy new Google Analytics account.
How to install Google Analytics in WordPress
There are different WordPress plugins you can use to install Google Analytics in your WordPress website.
They all have pros and cons, free and paid versions.
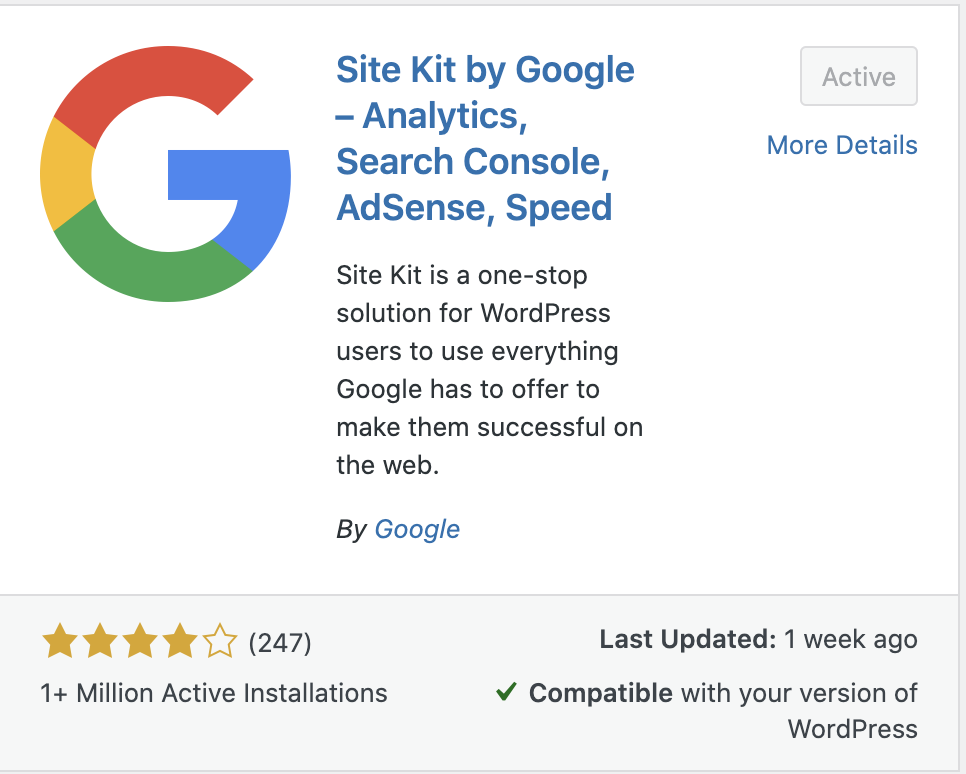
We’ll install the official Google Site plugin.
Step 1: Install Google Site Kit Plugin in WordPress
Go to Add Plugins, search Site Kit, install then finally activate the plugin.
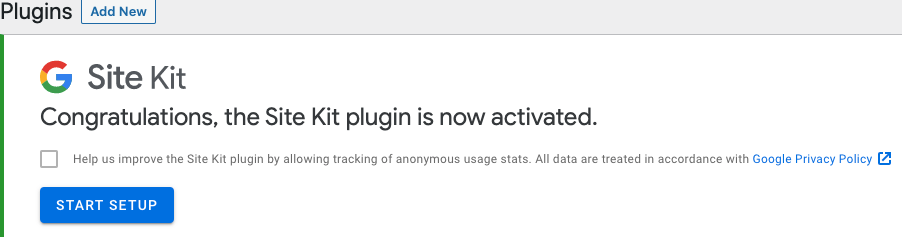
Step 2: Setup Google Site Kit
Once you installed and activated the plugin, you need to set it up and connect with your Google Analytics account.
Click on Start Setup.
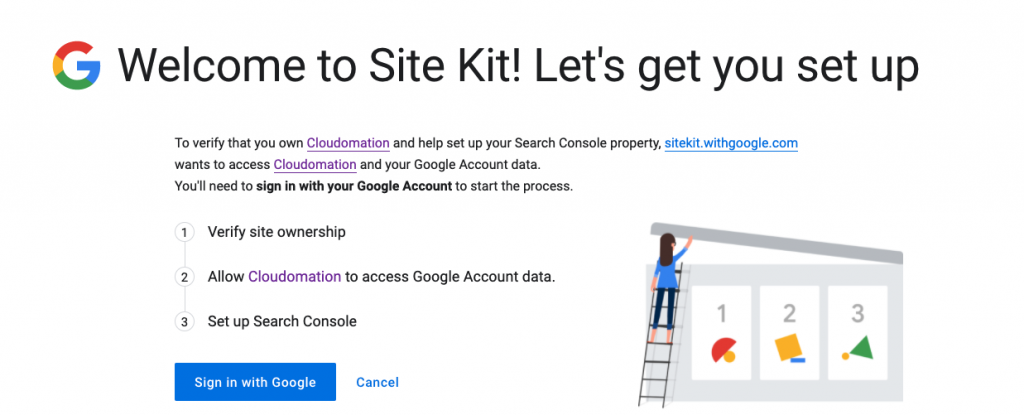
First, you need to sign in with Google (if you have multiple Google Accounts, make sure you select the tight one here).
Click on Sign in with Google and provide your credentials.
Step 3: Grant permissions
First, grant permission to view and manage Search Console data for your verified sites.

Second, grant permission to manage the list of sites and domains that you control.

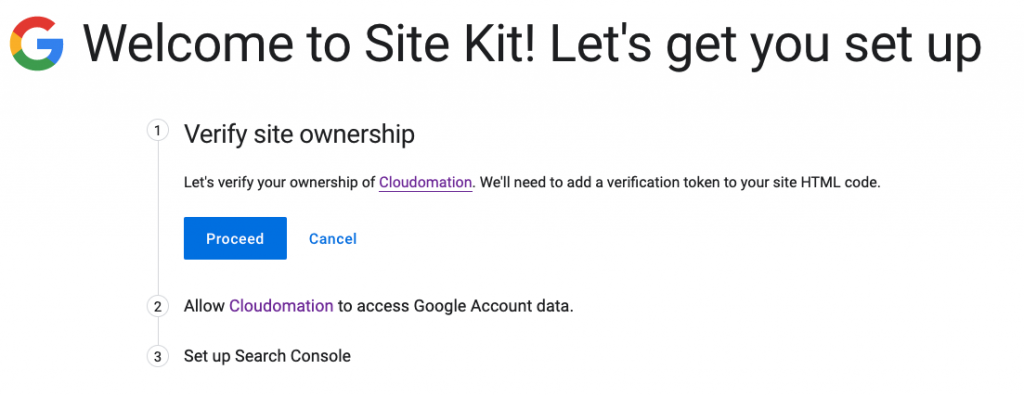
Step 4: Verify site ownership
Next step, you need to verify your ownership of your site, a verification token will be added to your site HTML code.
Click on Proceed.
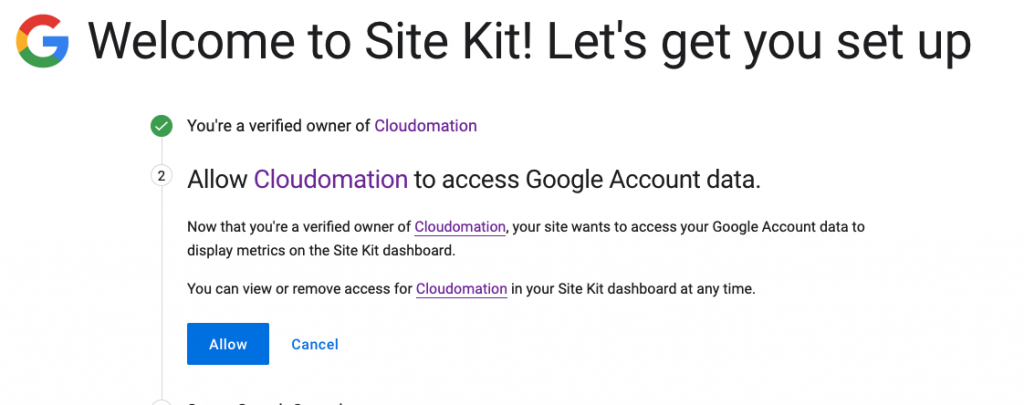
Step 5: Allow access to your Google Analytics metrics
After your site is successfully verified, it is time to allow access to your Google Analytics metrics for your Site Kit plugin.
Click on Allow.
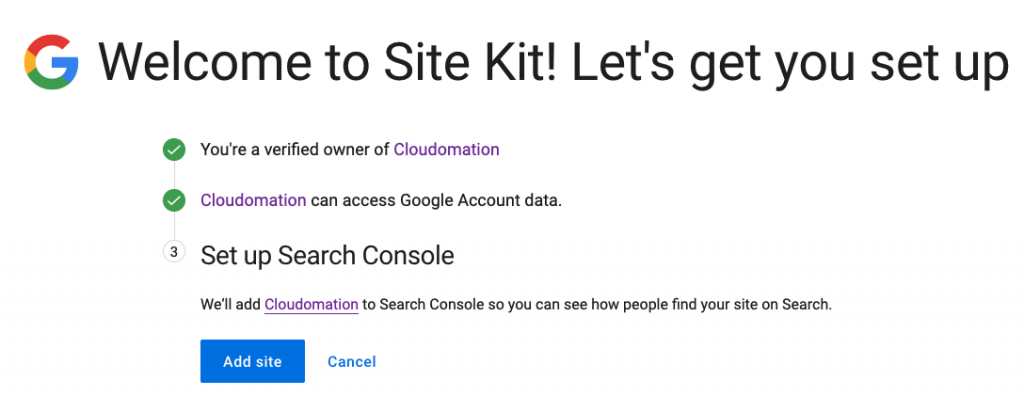
Step 6: Set up Search Console
Last step is to add your site to search console so you can see how people find your site on Search.
Click on Add site.
Step 7: View your Site Kit dashboard
Congratulations! You have successfully setup your Google Site Kit WordPress plugin. It’s time to go and see your dashboard.
Click on Go to my Dashboard.

Step 8: Connect Analytics service
On your dashboard, click on the Connect Service in order to connect Google Analytics and start seeing your data in your Site Kit.

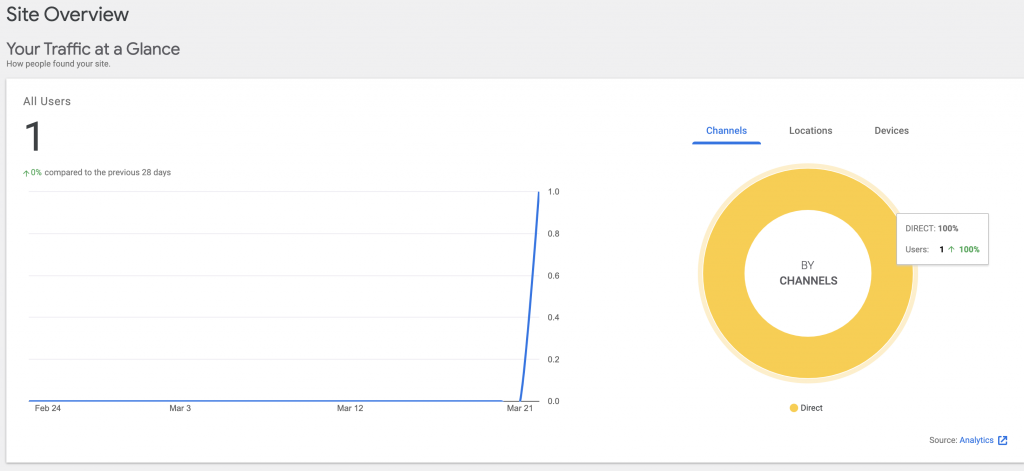
Step 9: Check out your Google Analytics dashboards
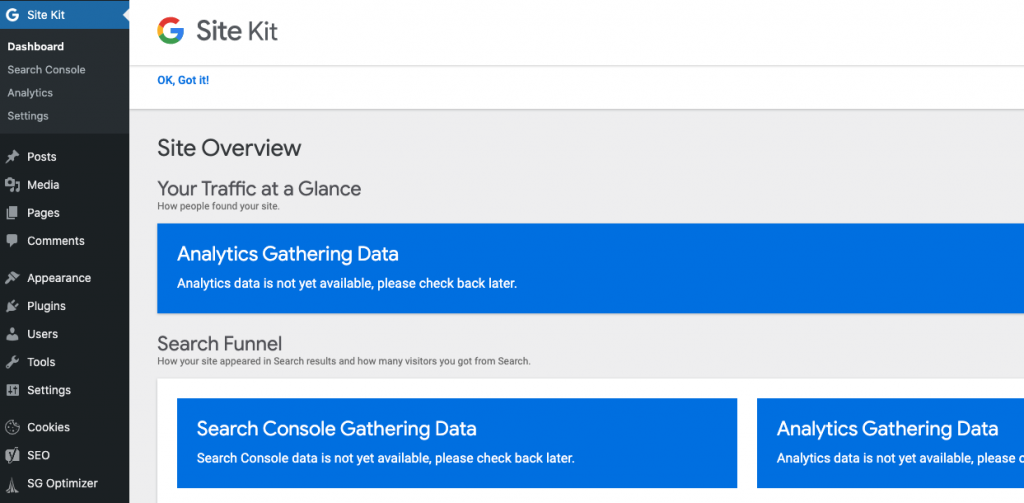
You are all setup. Just to test, go to your website and view some pages then check back your real time dashboards. You can see at least your recent activity.
It will take some time to have some data available. It is normal if you see Analytics Gathering Data… Come and check back later.
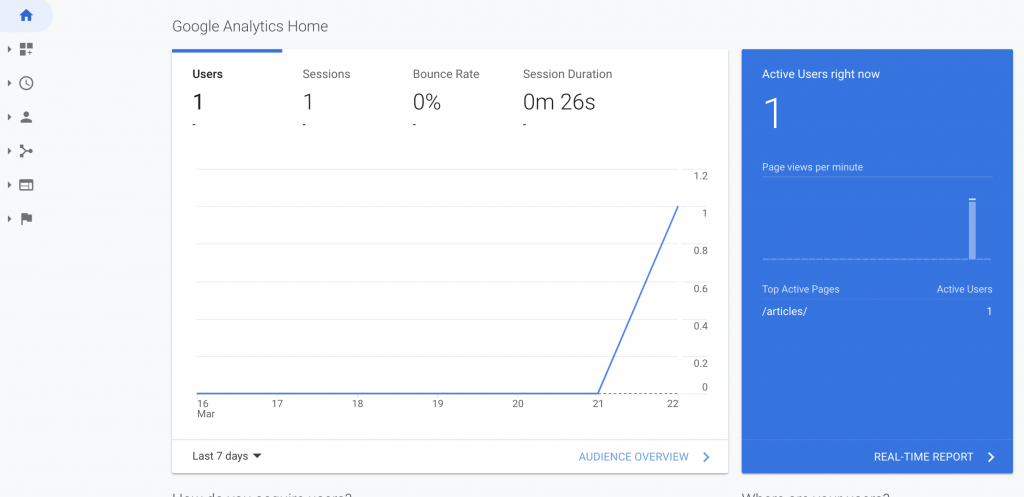
You can also go to your Google Analytics dashboard and see your metrics.
Congratulations
Well done, you have successfully setup your Google Analytics and connected it with your WordPress website.
Next step is to be patient and wait until some data is gathered then you can start analysing your website metrics.